By default, WordPress is presented in English, but you can install it in more than 80 different languages. In this post I show you how to set up WordPress in your language and how to change it in WordPress 4.0. Since WordPress 4.0 you can change the language of your website from the WordPress dashboard.
WordPress is used on millions of websites in other countries and it makes sense that those people would want to use WordPress in their own language. You can install WordPress in your language by two methods. Using an auto installer software or manually.
1. Auto installer software (via web hosting company)
All the best WordPress web hosting companies, like Siteground or Wpengine, allow you to install WordPress in a few clicks. Usually, installing WordPress is an easy process that takes less than five minutes. You can install it through the site software interface in cPanel with Softaculous or SimpleScripts.
In this example, I will show you how to install WordPress in cPanel with the Softaculous auto installer. I’m using Siteground Hosting:
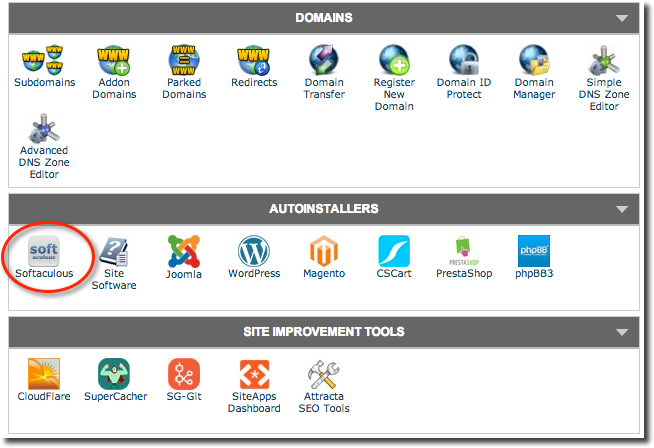
Step 1. Login to your cPanel account and find the Softaculous icon
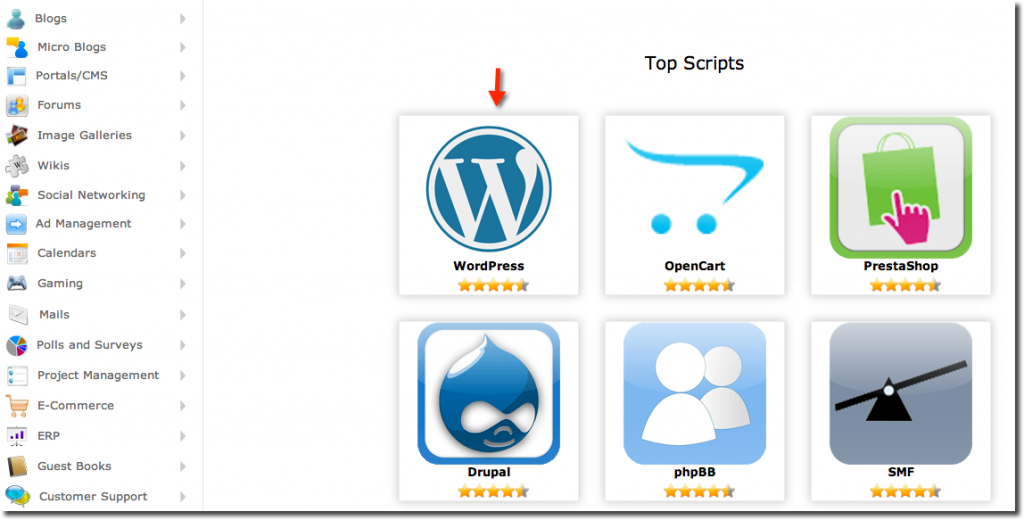
Step 2. Choose WordPress application
Step 3. Select your domain, username, password and language
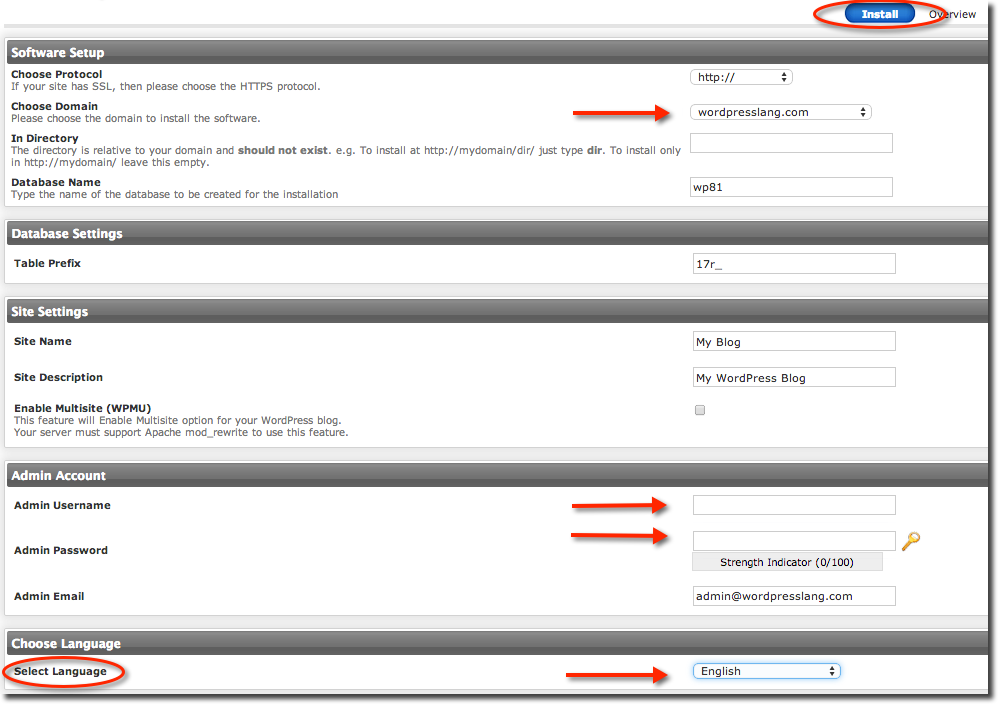
With Siteground hosting, you can install WordPress in 31 languages: Bulgarian, Chinese (simplified and traditional), Catalan, Dutch, French, Portuguese, Spanish, Swedish, German, Russian, Arabic, Polish, Japanese, Turkish, Italian, Danish, Ukrainian, Hungarian, Thai, Greek, Hebrew, Finnish, Romanian, Persian, Norwegian, Slovenian, Croatian and Korean.
2. Manually
(Update: Since WordPress 4.0, you can choose your language when installing)
You can install WordPress in your language manually using FTP. Let’s see the steps:
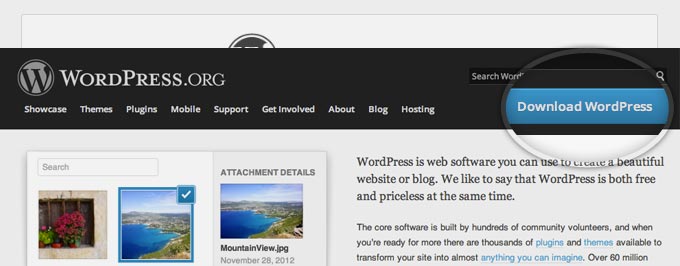
Step 1. Download the WordPress installation package in your language
You can download the latest English version from the official web https://wordpress.org. Extract the zip file that you´ve just downloaded.
If you want to install WordPress in other language you can download the latest version from:
- https://es.wordpress.org – Spanish version
- https://fr.wordpress.org – French version
- https://de.wordpress.or – German version
- https://ru.wordpress.org – Russian version
- https://br.wordpress.org – Portuguese version
- https://fi.wordpress.org – Finnish version
- https://ja.wordpress.org – Japanese version
- Etc…
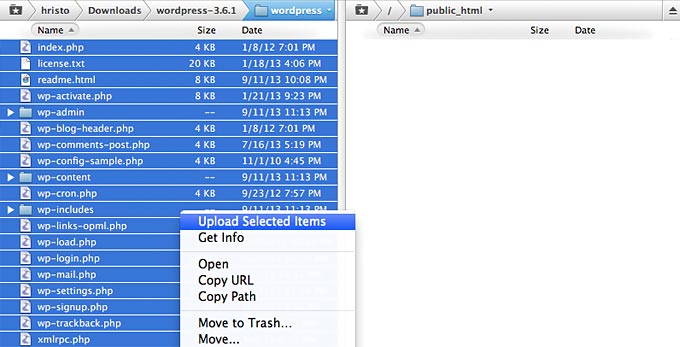
Step 2. Upload the WordPress files to your hosting
The easiest way to upload the files is via FTP. You need to use FTP software (Filezilla, for example).
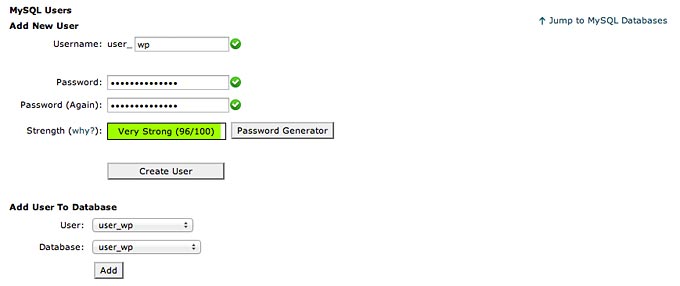
Step 3. Create a Database for WordPress
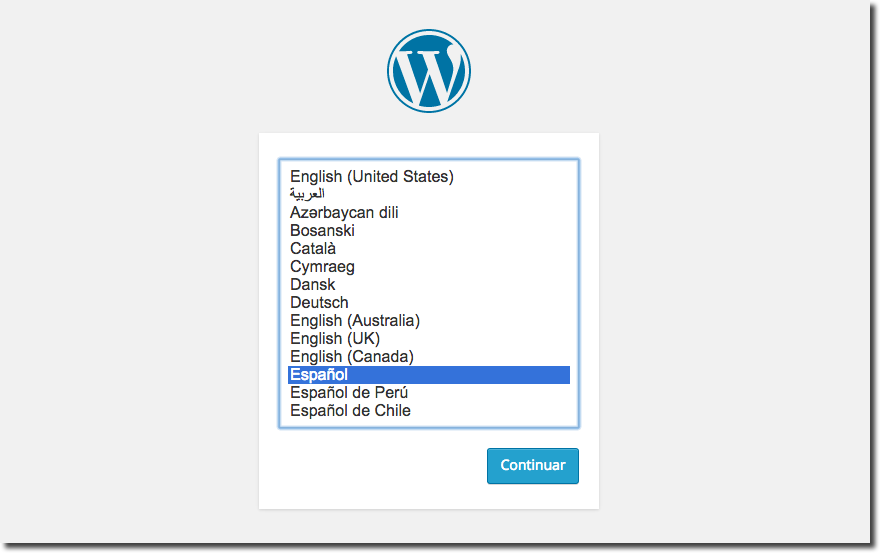
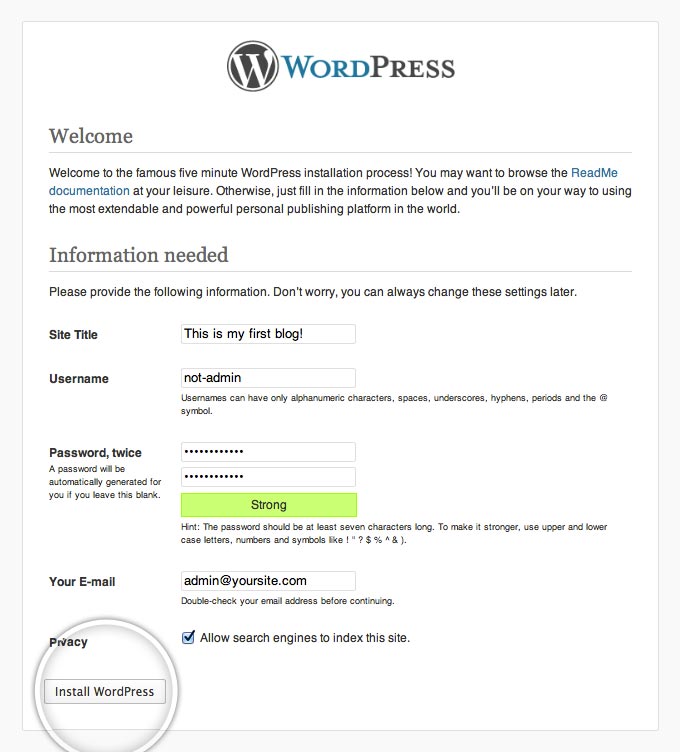
Step 4. Go through the famous 5-minute installation process in your language
3. How to change language after installing WordPress
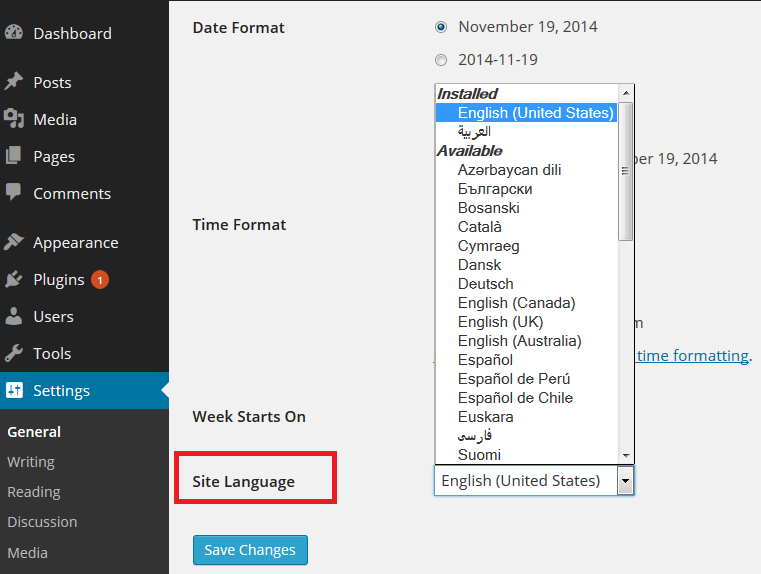
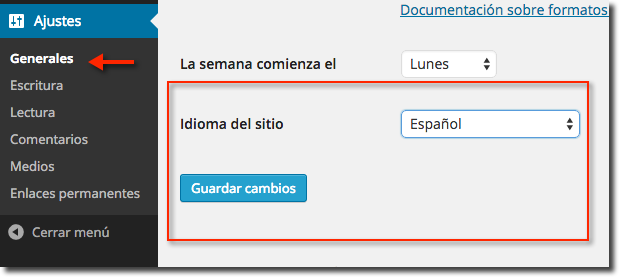
Since WordPress 4.1 you can change your website language (and install new languages) from the WordPress dashboard. You don’t need to modify WPLANG in wp-config.php file (which has disappeared). All you have to do is go to Settings > General > Site Language, select a new language and install it
This way you can install translations on the fly. Note that the language drop down now includes installed languages and available translations when the filesystem is writable by WordPress.
Note: if you are using any translation plugin (WPML, Multisite Language Switcher, Zanto, qTranslate, Polylang, etc) may also have to change the language option in the plugin.
Issues in WordPress 4.0:
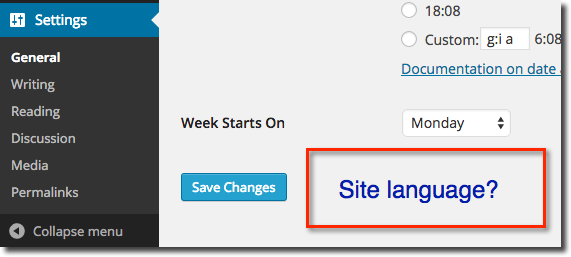
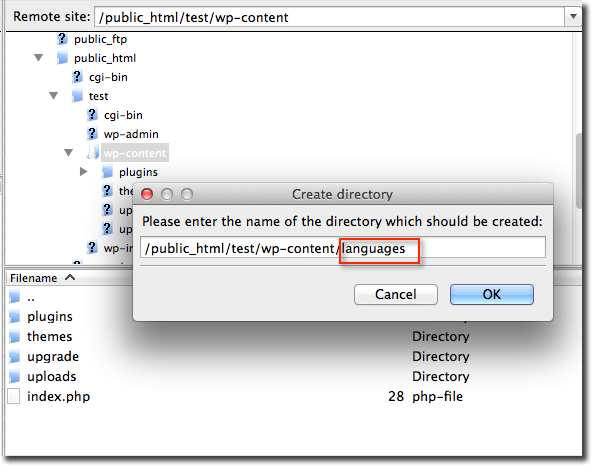
- “I don’t have Site Language option in WordPress”. This is because you installed WordPress originally in English. In this case you must create the languages folder inside wp-content directory and upload PO and .MO language files. You can find these files in this link. Once upload language files (PO and MO) to wp-content/languages directory you’ll see the “Site Language” option in Settings> General.
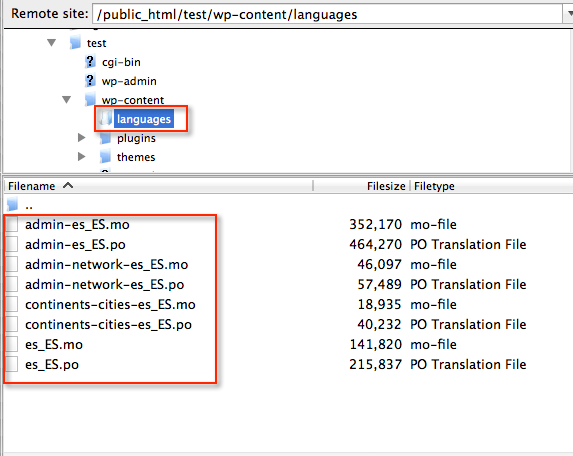
- I want to add new languages. Simply download the appropriate language files (https://i18n.svn.wordpress.org/) and upload it to wp-content/language directory. After that the new language will automatically appear in the drop-down language menu.
4. WordPress Languages
Currently, WordPress is translated into over 80 languages, with different variants of each. For example, the English version is in American English (with code en_US), Austalian English (en_AU), Canadian English (en_CA) and British English (en_GB).
The first two letters tell you the language (“en” for English) and the last two letters tell you which version of English (US, United States, AU, Australia, CA, Canada and GB, Great Britain).
Finally, you have the best multilingual WordPress plugins in this article: How To Make A Multilingual WordPress Site: Plugins and WordPress Multisite
Have you been able to install WordPress in your language? Is WordPress translated to your language?
Thanks for sharing!
How can I change the language to Bulgarian? Thanks
Settings > General > Site language > български